Collaboration Cool Tool
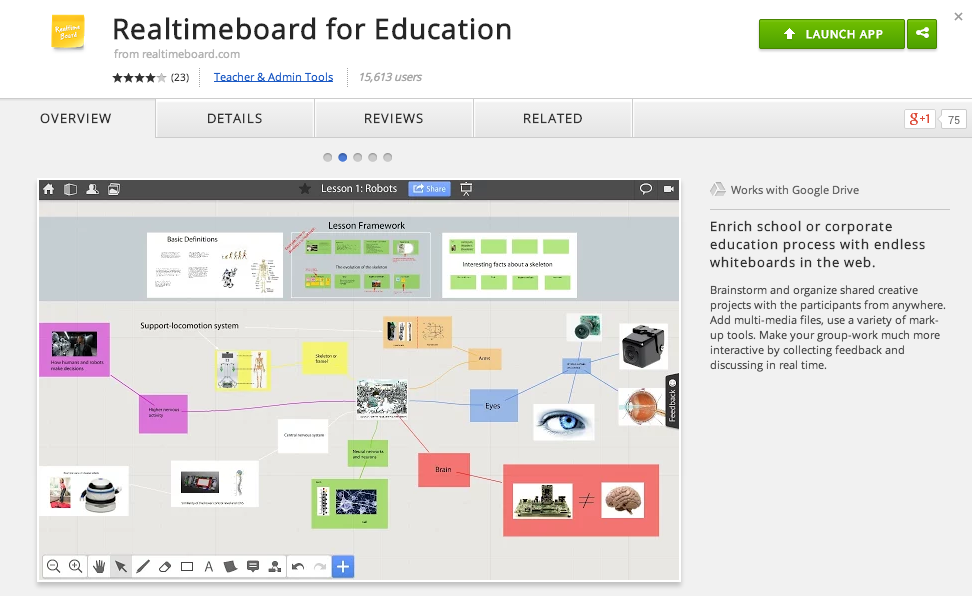
RealtimeBoard for Education
Good Looking, Powerful, and Chrome-Ready Mindmapping
In my research to write this article (Cool Tools for Collaboration) I saw tons of workspace apps for the iPad and Chrome. They all give the students a virtual space to collaborate with similar features. The Apple Apps were more pleasing aesthetically and easier to teach with than the Chrome alternatives with which I was familiar. Chrome apps had a little more functionality than the Apple Store offerings, but those are typically more distracting than helpful in the classroom. I like the versatility of Lucid, but the design space is clunky. The Chrome version of Popplet is attractive, but lacks function and has lost the trust of our teachers because of some connectivity issues.
In my search to find something easy to use, powerful, and attractive for my Chromebook users I stumbled upon RealtimeBoard for Education. It is already loaded into the Moore@Schools Webstore and ready to use now.
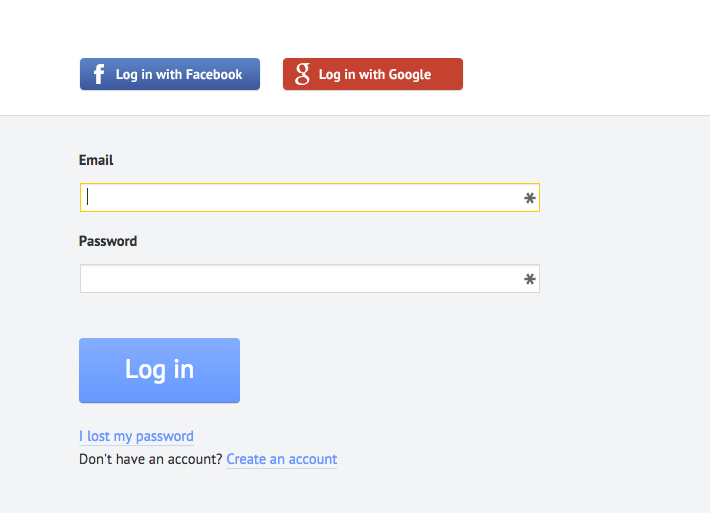
RealtimeBoard EDU supports single signin with edu gmail accounts.
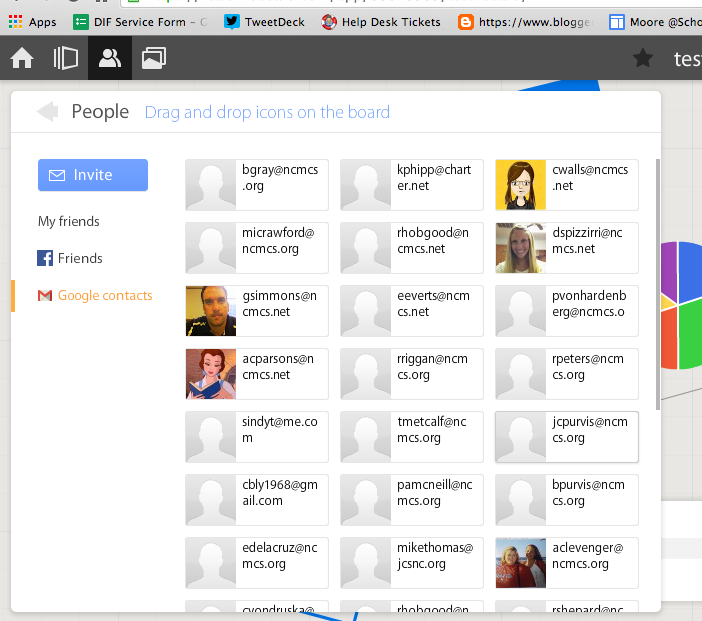
If allowed to do so it will also link to Drive like Lucid (very handy) and collaborators can be located and added through gmail. The user can also add an extension to capture whole or partial screenshots that will be automatically added to the RealtimeBoard Library (handier than I originally thought it would be).
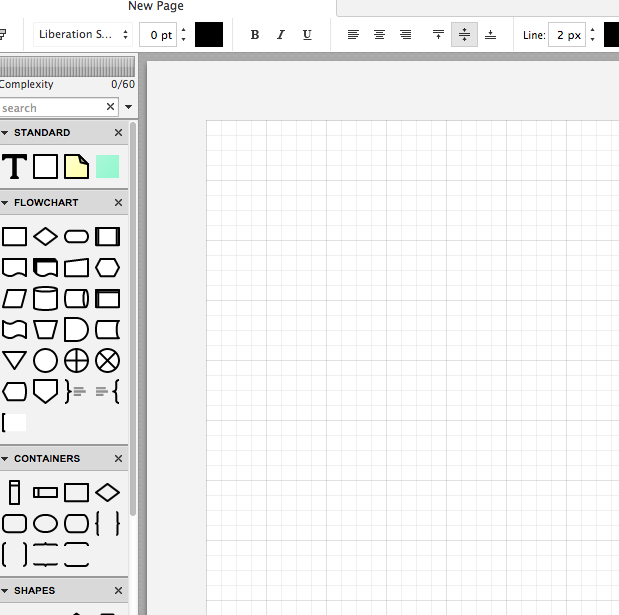
RealtimeBoard EDU has a great, clean space for the students to collaborate synchronously. It utilizes pretty common features for this type of program including drawing tools, shapes, connectors / arrow lines, and text boxes. The types of shapes & text bubbles are far fewer than Lucid but more than adequate for our needs.
RealtimeBoard EDU Lucid
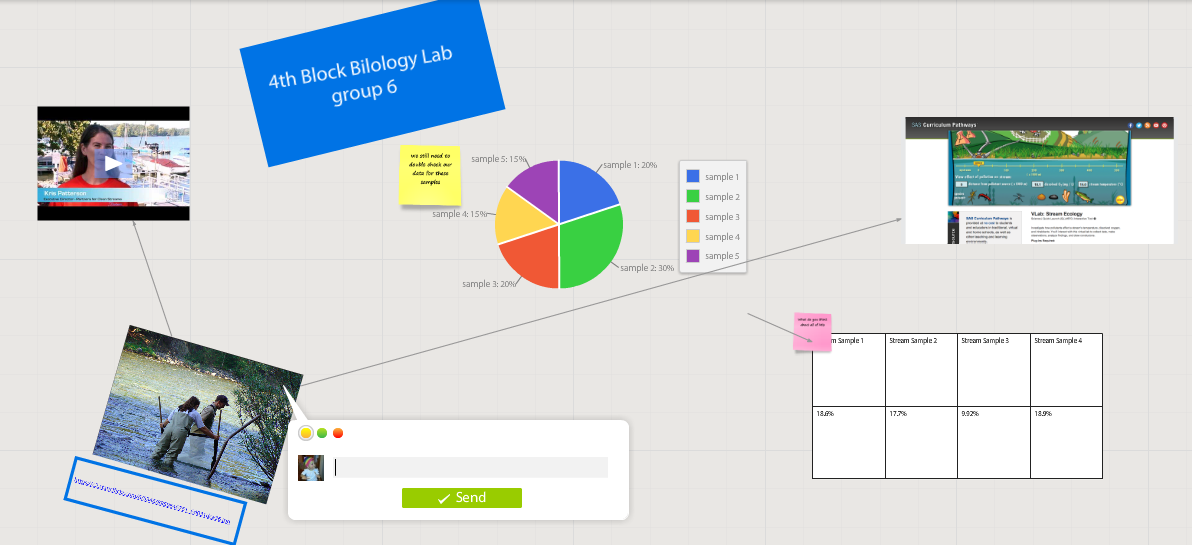
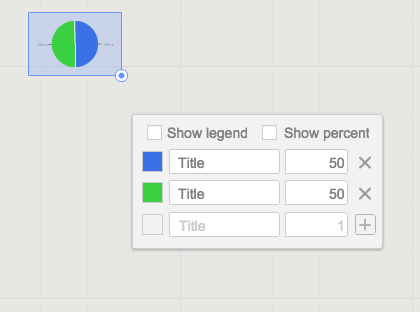
Students can embed video as with Popplet using the URL. Additions to those common tools include very easy to generate tables and charts (pie and various bar graphs).
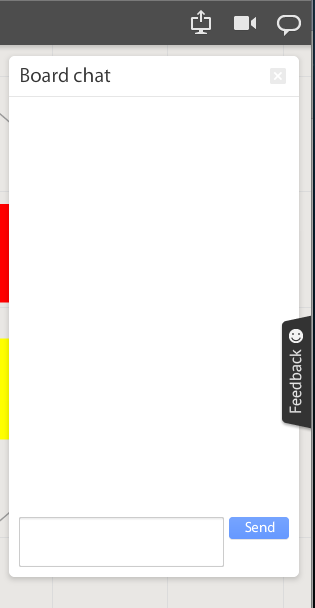
Students communicate in the workspace by generating post-it type notes, screen-share or by the onscreen “board chat” feature.
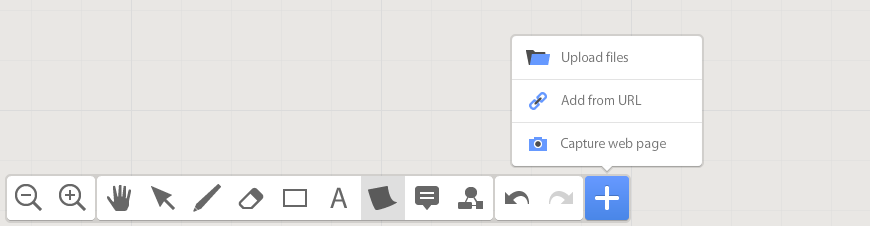
What is unlike similar applications? RealtimeBoard lets users import entire documents, pictures, screenshots (very easy if you add extension--not currently in the Moore@School WebStore).
As students analyze these pieces and begin to see how they work together they can organize or combine the elements to convey a larger story.
Student/students can save their work to Drive, download as PDF, add the instructor as collaborator, or send them the link. This many ways to submit make it quick and easy.
I really like the application at this point and I am happy to have an attractive alternative for my teachers. I anticipate this will be a big hit. Instructionally it could be modified to fit most assignment types and levels of Bloom’s framework.
__________________________________________
Ideas for Instruction:
Science: Lab & Experiment Reporting, Categorization
Social Studies: Biographies, Primary Doc Analysis, & Complex Cause-Effect
Math:Terminology, Illustrations of Real World Application of Skill
ELA: Character Development, Thematic Strands in Story, Types of Poetry, Mood/Tone/Theme
Foreign Language: Cultural Elements, Dialectic Variations, Topically Related Verb/Nouns
_______________________________________________________________________________
If you have found any other great alternatives or have something to add to the discussion here just post a comment below.
Will Herring, MEd-IT NBPTS
Moore County Schools, IDI DIF
@WilliamHerrin16