Overview
Teachers often struggle to engage students when teaching concepts that are, quite frankly, boring. We have all taught lessons that we knew the students would not enjoy, but are an essential part of the conceptual framework of the subject, so skipping the lesson was simply not an option. Why not transform these boring lessons into fun, engaging lessons by integrating video creation tools!
Why Video Presentations?
Using video creation tools provides a platform for all students to demonstrate their understanding of a concept in their own unique way. By providing the opportunity for students to be creative with their video, engagement increases exponentially which leads to a better understanding of the once "boring" concept.
One common fear that teachers have about using technology in their classroom is that it will shift the students' focus from the subject content to the digital tool being used. Good news! Video creation provides a content-centered approach to learning. Students must first have a solid understanding of the concept being taught before creating a video presentation that displays their understanding of the concept. This allows video creating to integrate seamlessly into any lesson across any subject.
The Tools
Students at New Century Middle School have used video creation tools for a variety of projects across many different subjects. Here are the tools they used along with their finished products:
Touchcast (iPad and iPhone)
This tool is free and includes a variety of effects including green screen, virtual whiteboard, unique sounds, and many other virtual apps (called vApps). Students used Touchcast to create videos discussing economic issues in social studies. They researched an economic issue in America, then created a video to present their findings and give their opinion on how to fix this particular issue.
WeVideo (web-based)
WeVideo is a web-based tool that allows you to easily edit video clips from your computer. This is a great tool for students who are using Chromebooks. Students used WeVideo to create videos for Red Ribbon Week detailing the dangers of taking prescription drugs. This particular video won second place in a drug prevention video contest.
Splice (iPad and iPhone)
The easiest of the tools to use, Spice allows you to create videos using pictures and video clips from your device. Because of it's ease of use, minimal class time is needed to teach students how to use the tool. This particular student used Spice to create a digital "book report" on a novel they read in class.
The Bottom Line
The next time you are looking to increase student engagement during a lesson that is far from exciting, have your students create a video presentation. Then watch in amazement as your students create digital masterpieces that helps boost engagement and leads to content mastery.
Showing posts with label digital tools. Show all posts
Showing posts with label digital tools. Show all posts
Friday, November 4, 2016

Thursday, January 8, 2015
The Best Digital Tools of 2014
For this month's blog, on a cool tool used in digital learning, a colleague and I decided it may be best to recap the "Best Digital Tools" used by teachers in 2014. There were so many foundational tools used this year, which encouraged teachers to step out of the box when it came to digital learning and teaching. As a team, we compiled a list of the top three tools used at schools throughout Moore County.
First on the list is Kahoot. This tool was an immediate hit at professional development meetings and conferences. Teachers quickly starting integrating this engaging, formative assessment tool in the classroom, and students from all grade levels loved it! A Kahoot quiz can be made by going to getkahoot.com and creating a free account. Kahoot allows the user to import pictures, videos, and has unique settings to meet student needs. In addition, this site hosts public quizzes for teachers to use, which helps save on time. If you have not experienced Kahoot with your class, it is definitely worth your while!

Movenote is another tool that really took off in the fall for Moore County. With Movenote, students and teachers are able to upload various types files to create a presenation. Some file types that users can upload are pdf, jpeg, png, Google Slides, and Powerpoint. After file(s) have been uploaded, the user can then record themselves to make a presentation while their slides run in the background. The operator has complete control over slide/picture advance and can rearrange slides as necessary. Movenote is a terrific way to put a digital spin on oral presentations!

Last but not least, Google Classroom was reported to be a pivotal tool in schools with chromebooks. With Google Classroom teachers can communicate easily with students and create assignments that are planted directly in students' Google Drive. Management of assignments and sharing resources with various classes is at the core of Google Classroom. Many schools have adopted this approach to a digital classroom, as MCS embraces a Google Apps for Edu environment.

If you are interested in learning any more about this year's top tools in Moore County, contact your school Digital Integration Facilitator (DIF) or media specialist to get more information!
~Enjoy!
Deanna Boesch
First on the list is Kahoot. This tool was an immediate hit at professional development meetings and conferences. Teachers quickly starting integrating this engaging, formative assessment tool in the classroom, and students from all grade levels loved it! A Kahoot quiz can be made by going to getkahoot.com and creating a free account. Kahoot allows the user to import pictures, videos, and has unique settings to meet student needs. In addition, this site hosts public quizzes for teachers to use, which helps save on time. If you have not experienced Kahoot with your class, it is definitely worth your while!

Movenote is another tool that really took off in the fall for Moore County. With Movenote, students and teachers are able to upload various types files to create a presenation. Some file types that users can upload are pdf, jpeg, png, Google Slides, and Powerpoint. After file(s) have been uploaded, the user can then record themselves to make a presentation while their slides run in the background. The operator has complete control over slide/picture advance and can rearrange slides as necessary. Movenote is a terrific way to put a digital spin on oral presentations!

Last but not least, Google Classroom was reported to be a pivotal tool in schools with chromebooks. With Google Classroom teachers can communicate easily with students and create assignments that are planted directly in students' Google Drive. Management of assignments and sharing resources with various classes is at the core of Google Classroom. Many schools have adopted this approach to a digital classroom, as MCS embraces a Google Apps for Edu environment.

If you are interested in learning any more about this year's top tools in Moore County, contact your school Digital Integration Facilitator (DIF) or media specialist to get more information!
~Enjoy!
Deanna Boesch
Tuesday, January 6, 2015
Rachel Davis - Discovery Education Tech Book
Discovery Ed - Tech Book
Ms. Rachel Davis
 As eighth graders enter Ms. Davis' Social Studies class at New Century Middle School, they know they are in for an engaging experience. As class begins, students open their Chromebooks and log in to Discovery Education.
 Discovery Education has a Social Studies Techbook which is phenomenal. The digital Techbook, aligned to the North Carolina Essential Standards and Common Core, allows teachers to transition to a digital classroom while actively engaging students to read, write and think critically. It reaches all learning modalities as it incorporates text, audio, video, images and digital investigations.
In addition to the Techbook, students use a variety of other tech tools including Edmodo, Moodle, Schoolnet and Google apps. Students use Kahoot to create their own review questions to quiz their classmates. They have also used Movenote and PowToon to create informative presentations.
As I watched the students interact in the discussion, some were taking notes "the old-fashioned way -- with paper and pencil while others were carefully color-coding the notes they were typing in a Google Doc/Slide. This form of differentiation was powerful for the students. What was powerful for me was that EVERYONE was taking notes and remember, these are 8th graders!
"The Techbook is easy to use and we use it as we take notes or create quizzes for each other," Blake explained.
"I have been using the Techbook for two full years in all three grade levels, 6, 7th and 8th. It definitely has streamlined my research for lessons and resources. One thing that I like is that students have the ability to change the reading level which allows for differentiation and greater student success. The translation feature allows non-English speaking parents to assist their students with homework assignments. The exposure to primary source documents deepens the knowledge and understanding of many historical concepts. When it is time to assess, the Techbook offers constructed response and higher level thinking questions that I can amend and incorporate into my test."
 |
| The closing activity was Six Square Review. Students "danced" around the room until the music stopped and then collaboratively shared answers. |
Ms. Davis is an 8th Grade teacher at New Century Middle School. She has been teaching in Moore County for four years. New Century has had their Chromebooks for about seven months.
*The Social Studies Techbook is a paid-subscription. All Moore County School teachers have access to Discovery Education! Be sure to explore for ideas for your own classroom!
Discovery EducationEdmodoKahoot - Getting StartedMovenotePowtoon
Student Samples:
|
Wednesday, November 26, 2014
Flippity.net
Flippity.net is a website that you and/or your students can use to create their own flash cards.

What makes this website different from other websites like Quizlet.com? First of all, it works really well with Google Drive. All you have to do is visit the flippity.net website and make a copy of the template. Use the template to create your cards. Cards can be created quickly because the template is in a spreadsheet format. Secondly, your cards can contain video. This is a great feature. Once you finish creating your cards, just publish the spreadsheet and copy and paste the link in the template. It is very easy and quick. Visit the website because it walks you through step-by-step directions.
Once you get your link for your cards, you can also print off a paper version of a quiz. Students can also view all cards at once on the screen. There is even a template that works the same way for a jeopardy game. Check it out. I really believe you will like this website.
Friday, November 14, 2014
Collaboration Cool Tool
RealtimeBoard for Education
Good Looking, Powerful, and Chrome-Ready Mindmapping
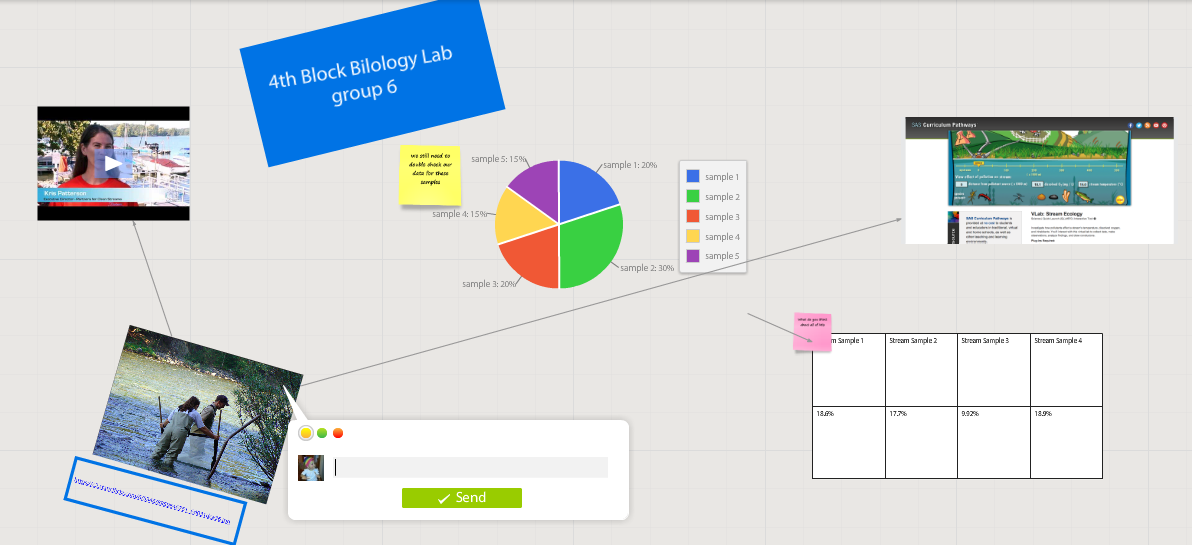
In my research to write this article (Cool Tools for Collaboration) I saw tons of workspace apps for the iPad and Chrome. They all give the students a virtual space to collaborate with similar features. The Apple Apps were more pleasing aesthetically and easier to teach with than the Chrome alternatives with which I was familiar. Chrome apps had a little more functionality than the Apple Store offerings, but those are typically more distracting than helpful in the classroom. I like the versatility of Lucid, but the design space is clunky. The Chrome version of Popplet is attractive, but lacks function and has lost the trust of our teachers because of some connectivity issues.
In my search to find something easy to use, powerful, and attractive for my Chromebook users I stumbled upon RealtimeBoard for Education. It is already loaded into the Moore@Schools Webstore and ready to use now.
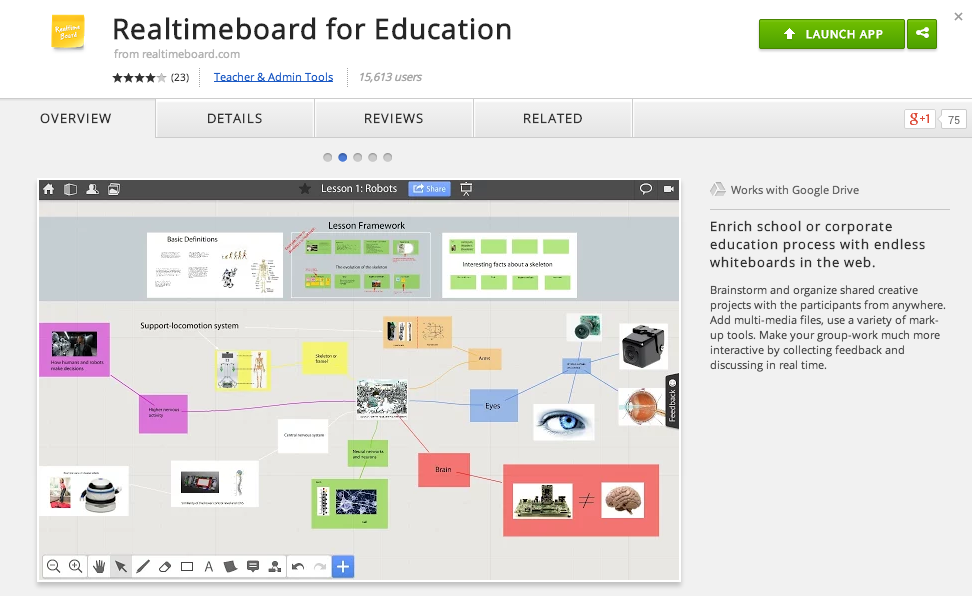
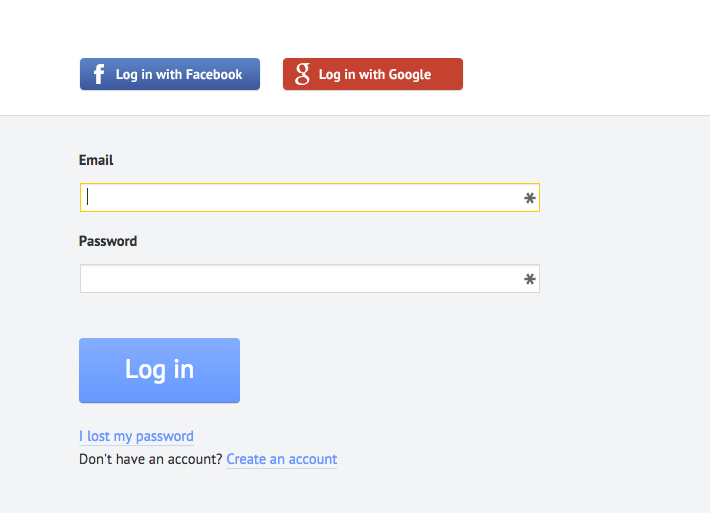
RealtimeBoard EDU supports single signin with edu gmail accounts.
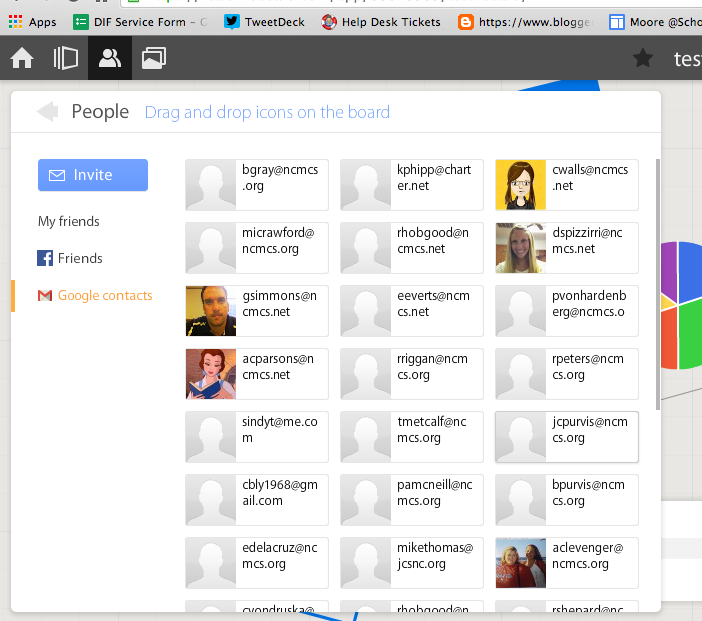
If allowed to do so it will also link to Drive like Lucid (very handy) and collaborators can be located and added through gmail. The user can also add an extension to capture whole or partial screenshots that will be automatically added to the RealtimeBoard Library (handier than I originally thought it would be).

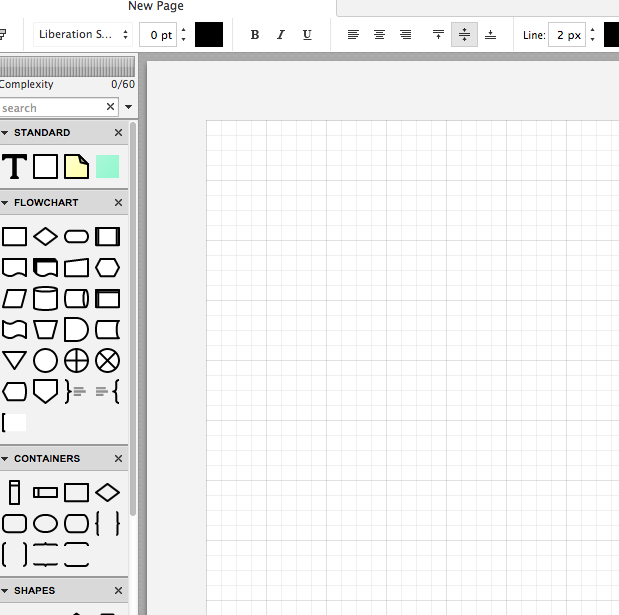
RealtimeBoard EDU has a great, clean space for the students to collaborate synchronously. It utilizes pretty common features for this type of program including drawing tools, shapes, connectors / arrow lines, and text boxes. The types of shapes & text bubbles are far fewer than Lucid but more than adequate for our needs.
RealtimeBoard EDU Lucid
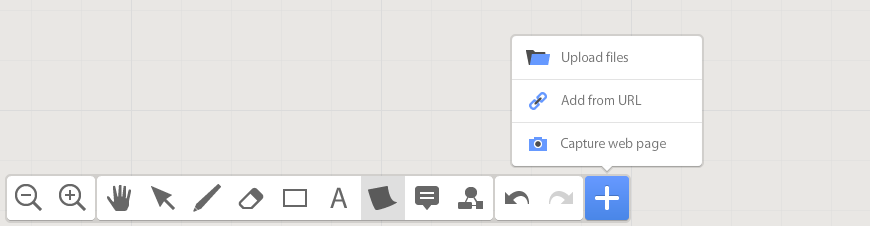
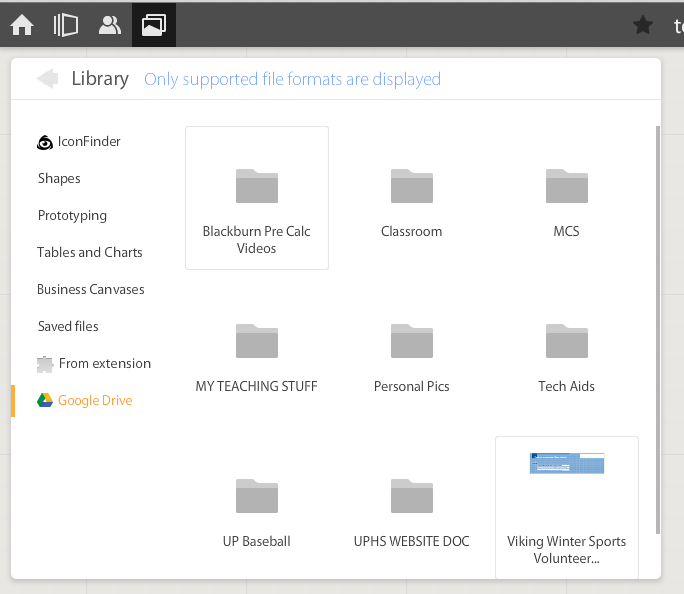
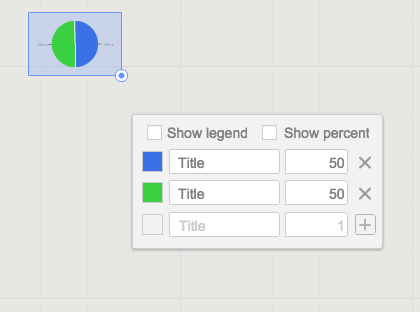
Students can embed video as with Popplet using the URL. Additions to those common tools include very easy to generate tables and charts (pie and various bar graphs).
Students communicate in the workspace by generating post-it type notes, screen-share or by the onscreen “board chat” feature.
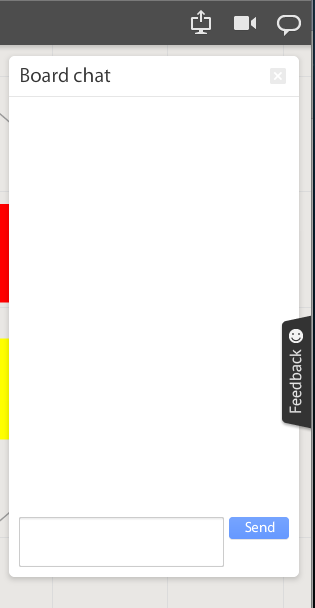
What is unlike similar applications? RealtimeBoard lets users import entire documents, pictures, screenshots (very easy if you add extension--not currently in the Moore@School WebStore).
As students analyze these pieces and begin to see how they work together they can organize or combine the elements to convey a larger story.
Student/students can save their work to Drive, download as PDF, add the instructor as collaborator, or send them the link. This many ways to submit make it quick and easy.
I really like the application at this point and I am happy to have an attractive alternative for my teachers. I anticipate this will be a big hit. Instructionally it could be modified to fit most assignment types and levels of Bloom’s framework.
__________________________________________
Ideas for Instruction:
Science: Lab & Experiment Reporting, Categorization
Social Studies: Biographies, Primary Doc Analysis, & Complex Cause-Effect
Math:Terminology, Illustrations of Real World Application of Skill
ELA: Character Development, Thematic Strands in Story, Types of Poetry, Mood/Tone/Theme
Foreign Language: Cultural Elements, Dialectic Variations, Topically Related Verb/Nouns
_______________________________________________________________________________
If you have found any other great alternatives or have something to add to the discussion here just post a comment below.
Will Herring, MEd-IT NBPTS
Moore County Schools, IDI DIF
@WilliamHerrin16
Thursday, October 2, 2014
Powerful, Chromebook-Approved Creation!
The critical question when giving digital devices to students is always "what do we want kids to do with them?" In Moore County Schools, our answer to this question is that we want students to use their Chromebooks to create dynamic multimedia products that showcase their learning.
To this end, our outstanding Digital Integration Facilitator (DIF) team worked very hard to create the excellent resource below. We would like to share this out to any teacher, student, parent, administrator, or anyone else that would like to use Chromebooks to create dynamic work products!
 |
| Screenshot of "I Want to Create" Site |
Click here for: The MCS "I Want to Create" Site
- Don't throw a hundred tools at us that all do the same thing- tell us the one you recommend most : We did this on each page of our "I Want to Create" site by providing a featured tool at the top and other tools linked at the bottom of each page.
- Make sure all the tools provided work on our Chromebooks: We tested each thoroughly on our student Chromebooks.
- Provide an overview of the tool and also some easy ways to get started: We did this through embedded tutorial videos on each page
- Give us a printable cheat sheet we can print out if we need extra help while working through a tool: We did this on each and every tool page
- Tell us which tools are good for beginner, moderately skilled, and advanced skilled learners: We did this by organizing all the tools in exactly this manner, to allow folks to personalize their own learning.
We hope this resource can be helpful to any other educators out there that have Chromebooks in their classrooms and we look forward to seeing how this site evolves and grows throughout the next few years!
-Steve Johnson
Friday, September 12, 2014
What's? and Hows? of the New Google Classroom
What's? and Hows? of the New Google Classroom
I have been leading a weekly roundtable of teachers using the recently released Google Classroom. Overwhelmingly the teachers are pleased with the platform’s material distribution capacity and thrilled with the automated collection and storage. For those of you that have not had a chance to play with it yet, I’ll walk you through getting started.
Setting up your Stream:
Navigate to classroom.google.com and login using their Google for Education enabled credentials (Classroom App is available in the Google Store). You will be asked if you are a teacher or student. Once you have successfully logged in, you are taken to your personal “home screen” seen in image II.


What we found: You see in screenshot II that I am both a teacher of sections and a student in an honors biology course. We found it to be very useful to “join” each others courses so we could preview how our assignments looked from the students’ perspective.
Click the “+” (shown above) to “Create” or “Join” a course. To join a course, enter the alphanumeric class code and the icon for that course will appear on your homepage.
If you create a class, you will be prompted to give it a name. After be taken to the class “Stream” (stream is like your Facebook wall) where you will post announcements and assignments. On the left sidebar of your screen you will see your class code so that others can enrol in your course.
What you will not see initially is that Google has also created a folder in your Drive account called CLASSROOM. It will create a subfolder here for each class you create.
In the top left of your screen you will see three horizontal bars that will return you to the home screen. In the top center, you will see three options:
1) Stream -- announcements and assignments, 2) Students -- shows the name of everyone that has enrolled in your course, 3) About -- allows you to give your course a description.
Ready to add to your Stream:
You have two options; Announcement or Assignment. They are essentially the same but Assignments have a few additional features that are the beauty and power of Classroom.
This is always at the top of the teacher’s screen 
Clicking on Announcement drops down to look like this

You can see you are asked to enter the text you wish your class to see. You can also add attachments, insert any type of material stored in Drive, embed a YouTube video or link to an external site.
What we found:
We have not found a limit to the number of items you can put here; it will also accept entire folders from your linked Drive account. Click Post to add it to your Stream.
Clicking on Assignment drops down to look like this

See the additional line for instructions. Set a due date and time if desired. All the same attachment options exist here with a new choice of if you want the students to view the resource or be given their own copy automatically. Plus is names those documents with the name of the assignment + the student’s name. Click Assign to post to your Stream. If you need to change a post, do so by clicking on the three dots in the top right of the announcement or assignment.
What we found:
Changing assignments: Your students see the version of the assignment posted when THEY accessed their Stream. If you make any edits after student open the course they will need to refresh the screen to see the changes.
Only use assignment if there is a document, poster, etc… to turn in. Filling out forms or writing a hard copy journal does not result in deliverables; they can’t upload anything. When this happens, Google thinks they have a missing assignment.
Getting students work:
When you have students make a copy Google does two things behind the scenes: 1) Google creates a subfolder in your Drive>Classroom>Class> with the name of the assignment. 2) When a student creates their copy it will automatically be deposited within this folder.
Back in your Stream, you see how many students have started their work, how many have turned in their work, and you can click the students’ name to give real time feedback. By clicking on the assignment you can open, grade and email students their feedback.

What we found:
Return acts as both a send and save button. If you exit without clicking Return you will lose any grades you had entered during that session.
Conclusions:
We are infatuated but not in love with Classroom...yet. It is better than most of its predecessors: Edmodo, etc.. The group and I continue to tweak how to use it best and what it needs to be better. I’ll keep you updated.
My next post will be on the subject of what and how to supplement the Classroom with synergistic systems.
Thursday, June 19, 2014
Zaption - Make Educational Videos Interactive

Have you ever had that moment in your classroom when you're showing an educational video with your students and you have a few friends who are tuned out and missing out? As I was browsing my usual online PD spots I stumbled upon a new tool that has a lot of promise. Zaption is a free resource to create and share interactive videos with your students.

Zaption lends itself perfectly to those teachers who want to flip their classroom or create a more blended learning environment. Using this tool, teachers can use videos from YouTube, Vimeo, PBS, National Geographic or upload your own from your computer or webcam. Zaption then allows its users to add images, text, drawings, open ended and multiple choice questions, as well as check boxes to specific points to your selected video. Once you've made the videos more engaging for your students, you then publish them and retrieve the link to share with your students.
After your students complete the video "tour" you will be able to retrieve the data from their responses to deliver more individualized instruction based on their results. Zaption is a great tool for differentiating your lessons by creating "tours" that are designed to meet the needs of your learners. Zaption also offers a paid subscription that opens up more features to its users, such as creating student groups to track progress, more interactive elements, and more tools to manage your content.
Thursday, June 12, 2014
More Movenote AwesomeSauce

When I first saw the student examples sent, I knew Movenote was one of those tools that come along and check a ton of boxes off my own personal digital tool checklist:
- Can be used in any content area
- Students have opportunities to express their creativity and imagination
- Students are able to showcase their content mastery and understanding
- Easy to personalize and "make it their own"
- Incorporates student voice- literally and figuratively
- Allows public publication and easy sharing on the web
In other words, it's one of those great tools that is easy, highly flexible, easy to share out, and works across devices. I had a pretty good idea that it could also check the box off for "spans a wide age range" but decided to try it out with my own girls at home to make sure.
So, my kindergartener Kenna (who will be in 1st next year) had to do a report on an animal she had seen at the zoo. So we whipped my Chromebook out and I helped her to put a short slide presentation together on ostriches. She was then able to flip over to Movenote, load her presentation, and record the following Movenote:
(My Kenna, the nut...)
Link to full presentation where it doesn't cut left side off
Link to full presentation where it doesn't cut left side off
I sent the link to my daughter's amazing kindergarten teacher, Mrs. Demolet, and she was able to easily pull it up and play it for the class. And what's more, Movenote has a replay/commenting feature so Mrs. Demolet had her students send this Movenote back as a response (they're all doing the BYEEEEEEEE thing at the end- so funny).
So this is a tool that can be used all the way from AP Bio down to kindergarten (with support and help). I also let my 2nd grader (now 3rd grader) handle it and it's worth noting that I didn't have to help her with anything at all.
What a great and flexible tool for students to be able to take content, make it their own, and personalize an easy creation that shows what they know as well as lets them be creative! I hope you'll try Movenote in your classroom. :)
Subscribe to:
Posts (Atom)